Anatomy of A Serverless Blog - The Series, Episode 1
It’s been a while since I had time to enter an additional blog post, be that as it may I have finally made time for the sequel.
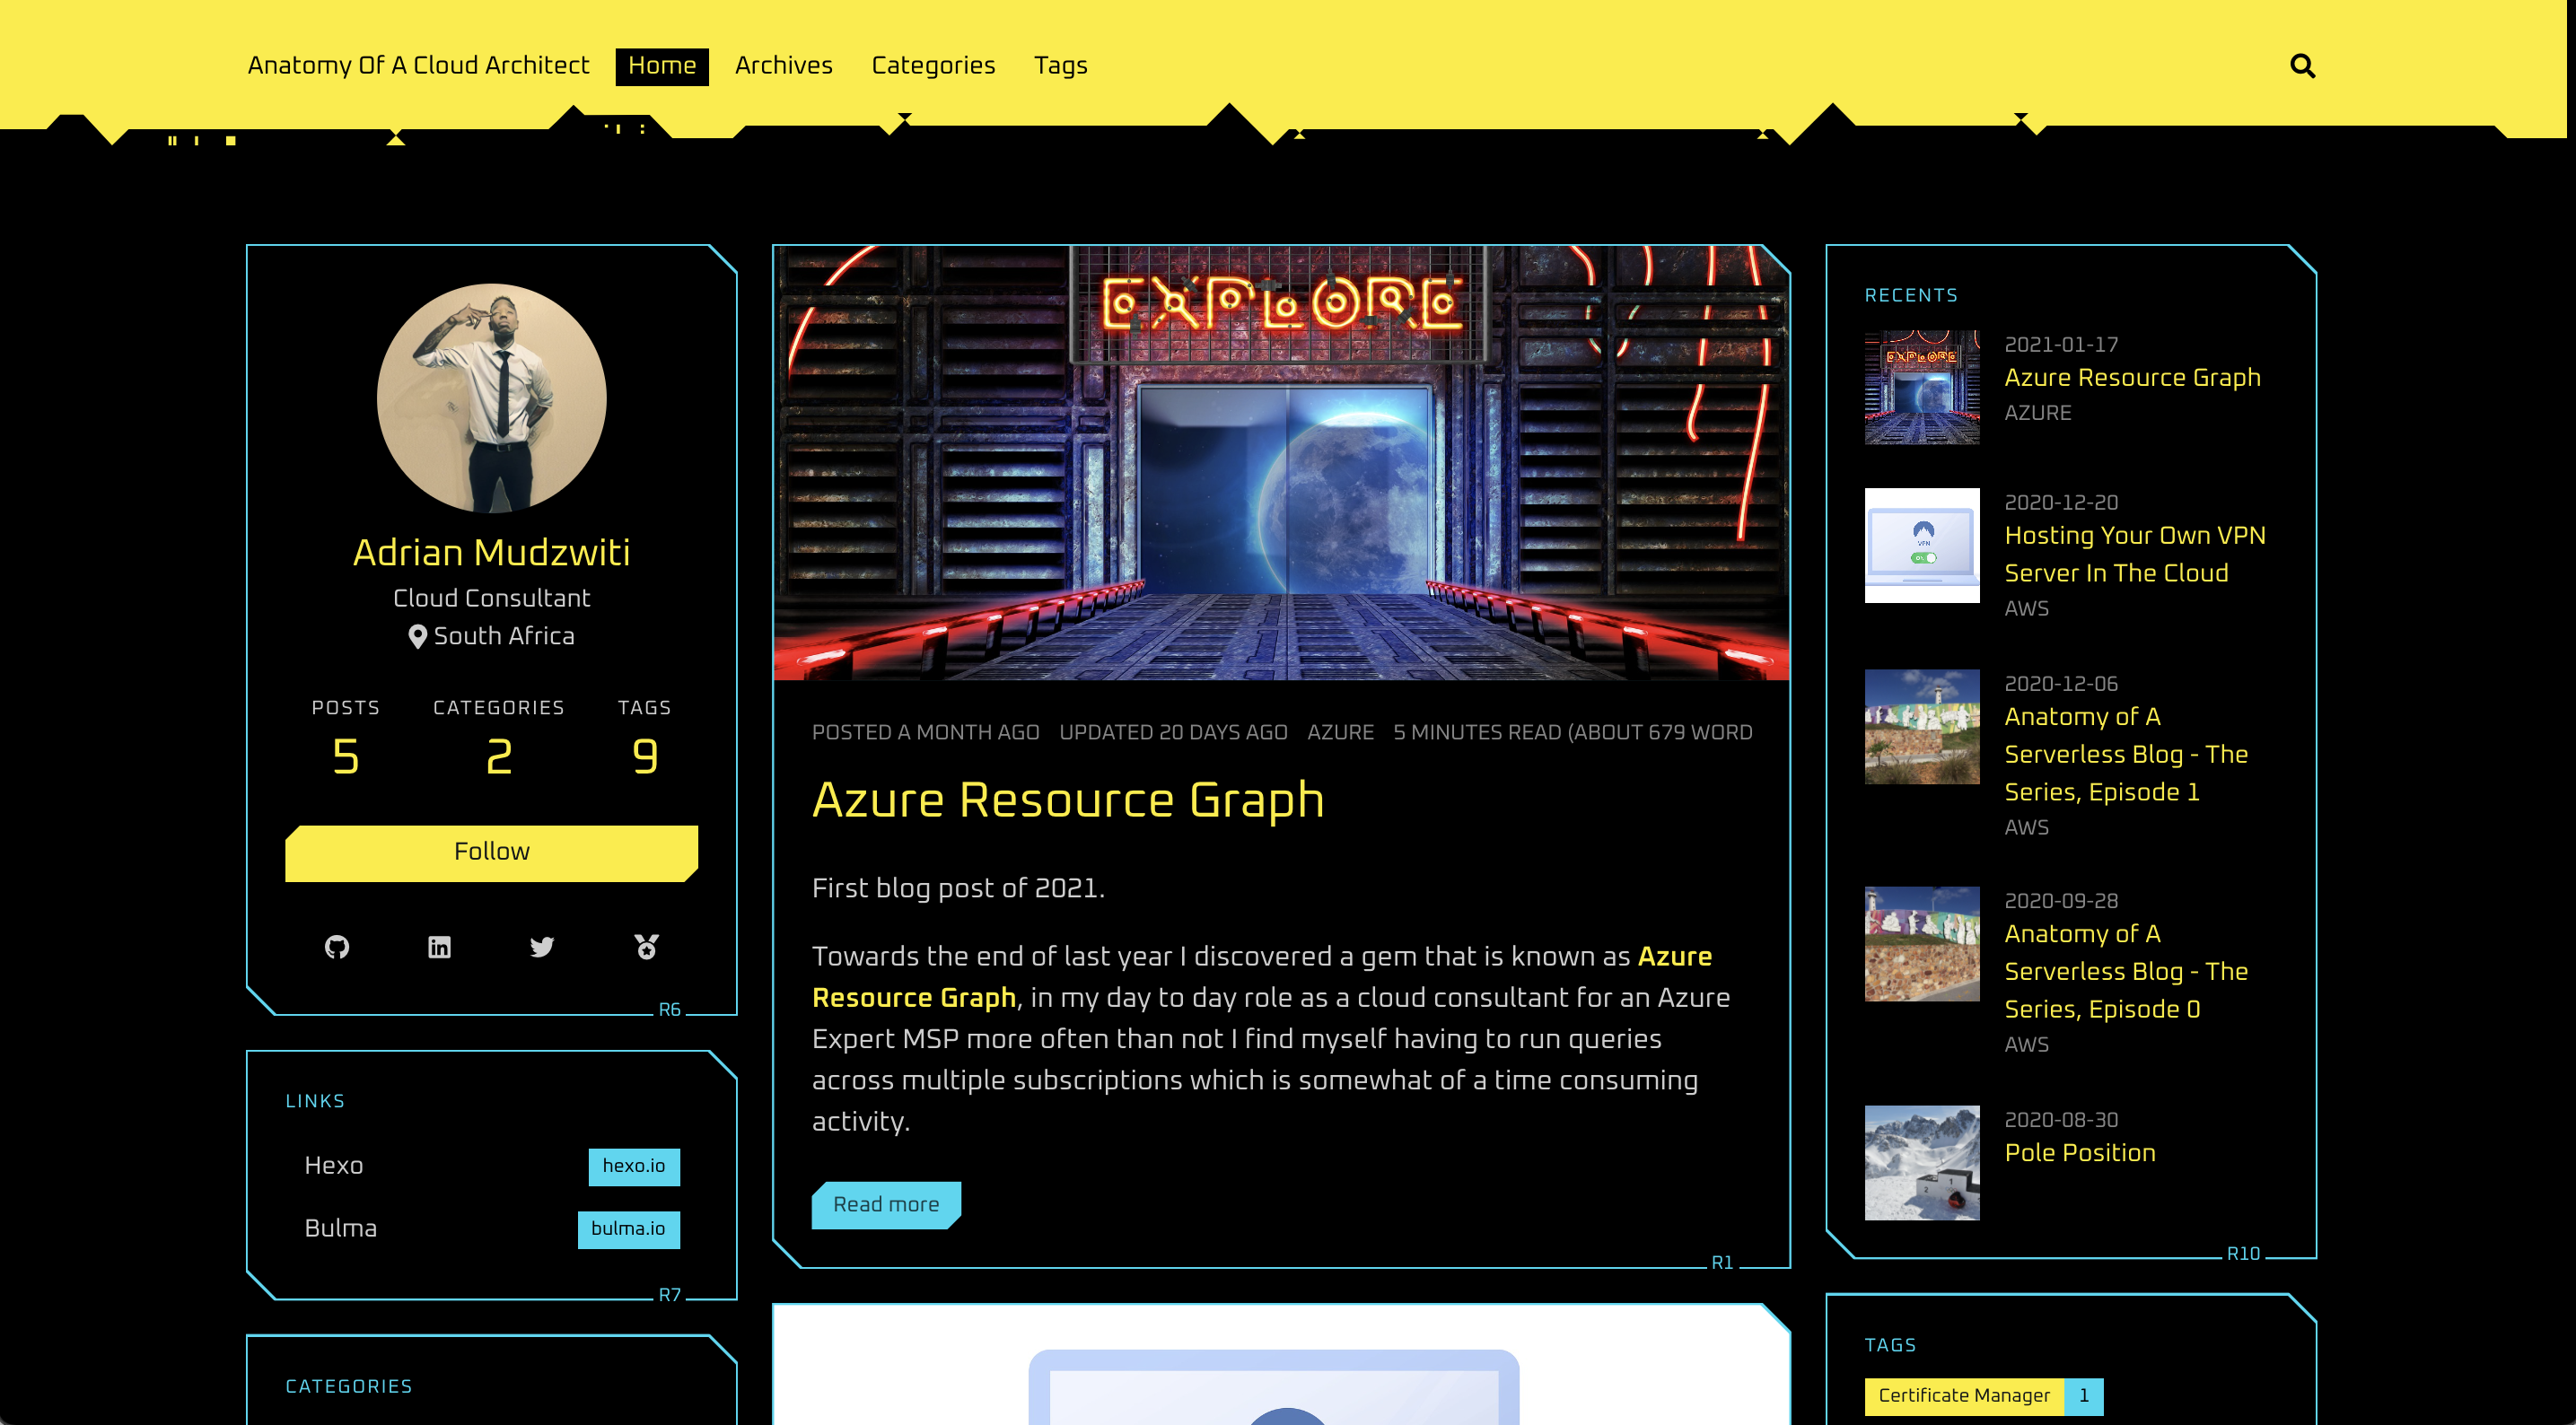
If you’ve been following my blog you might have noticed that I have changed the theme. Cyberpunk 2077 is nearing it’s release and what better way than to use a futuristic theme to ride the wave.
In this post we’ll take a look at the remaining components to complete our serverless blog.
Using a custom domain
In the previous post we accessed our S3 hosted site by using the Endpoint URL from the Properties tab of our S3 bucket, the URL is not human friendly nor is it easy to remember, you can register a domain to add a personal touch.
AWS has awesome documentation that is easy to follow along, see below link :
https://docs.aws.amazon.com/Route53/latest/DeveloperGuide/domain-register.html
We’ll come back to Route 53 a little bit later after we have configured Cloudfront and used Certificate Manager to deploy and manage our SSL certificate.
Cloudfront
We’re making use of Cloudfront to speed up the distribution of the static files from our Serverless Blog.
Cloudfront is a content delivery network by AWS, this will minimize delays for our end users when they request our blog.
To get started navigate towards Cloudfront from the Management Console, select Create Distribution and select Get started under web distribution.
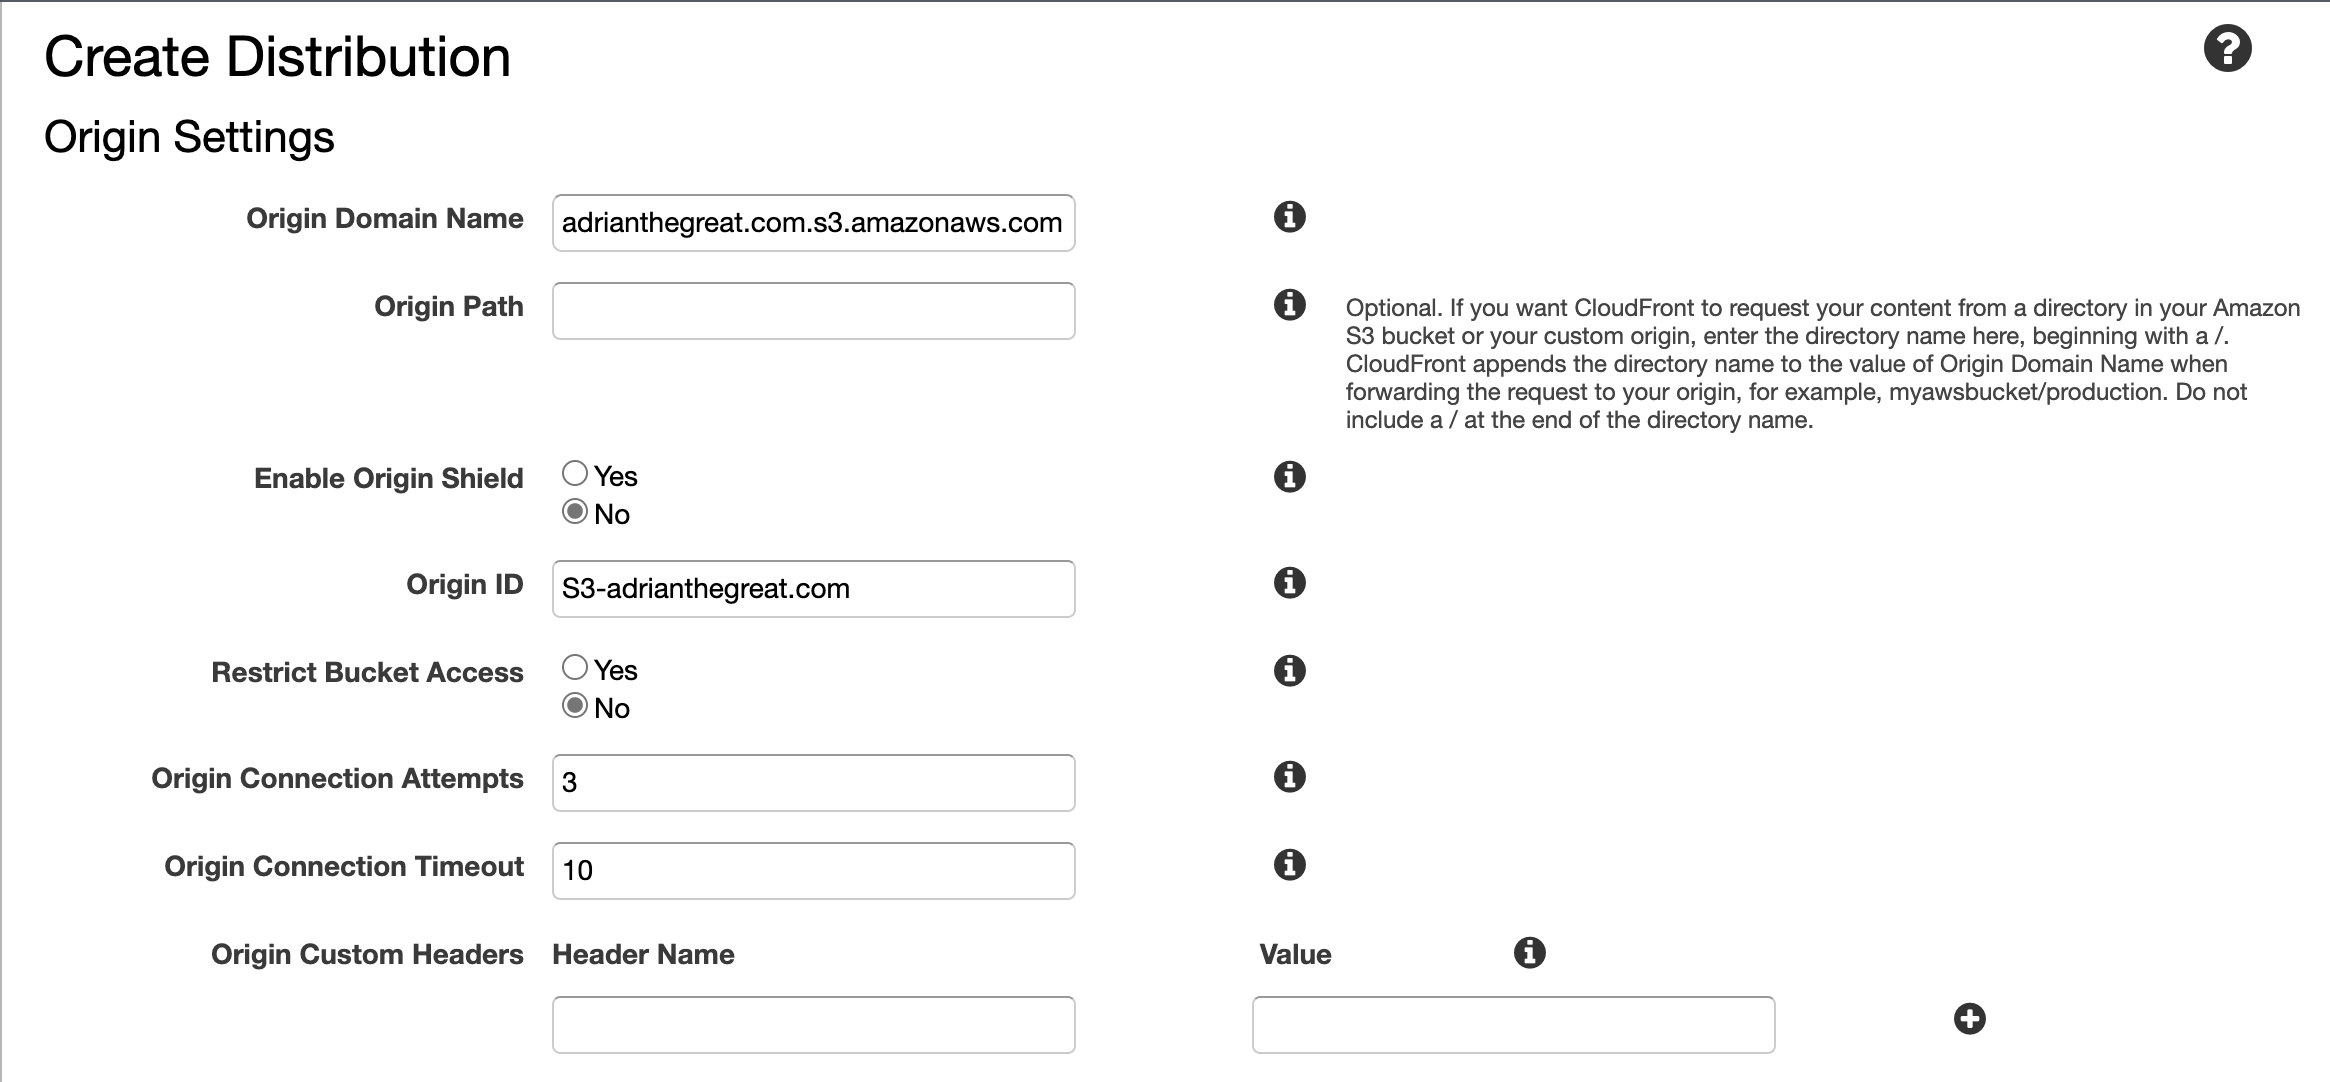
For Origin Domain Name enter the bucket ARN.
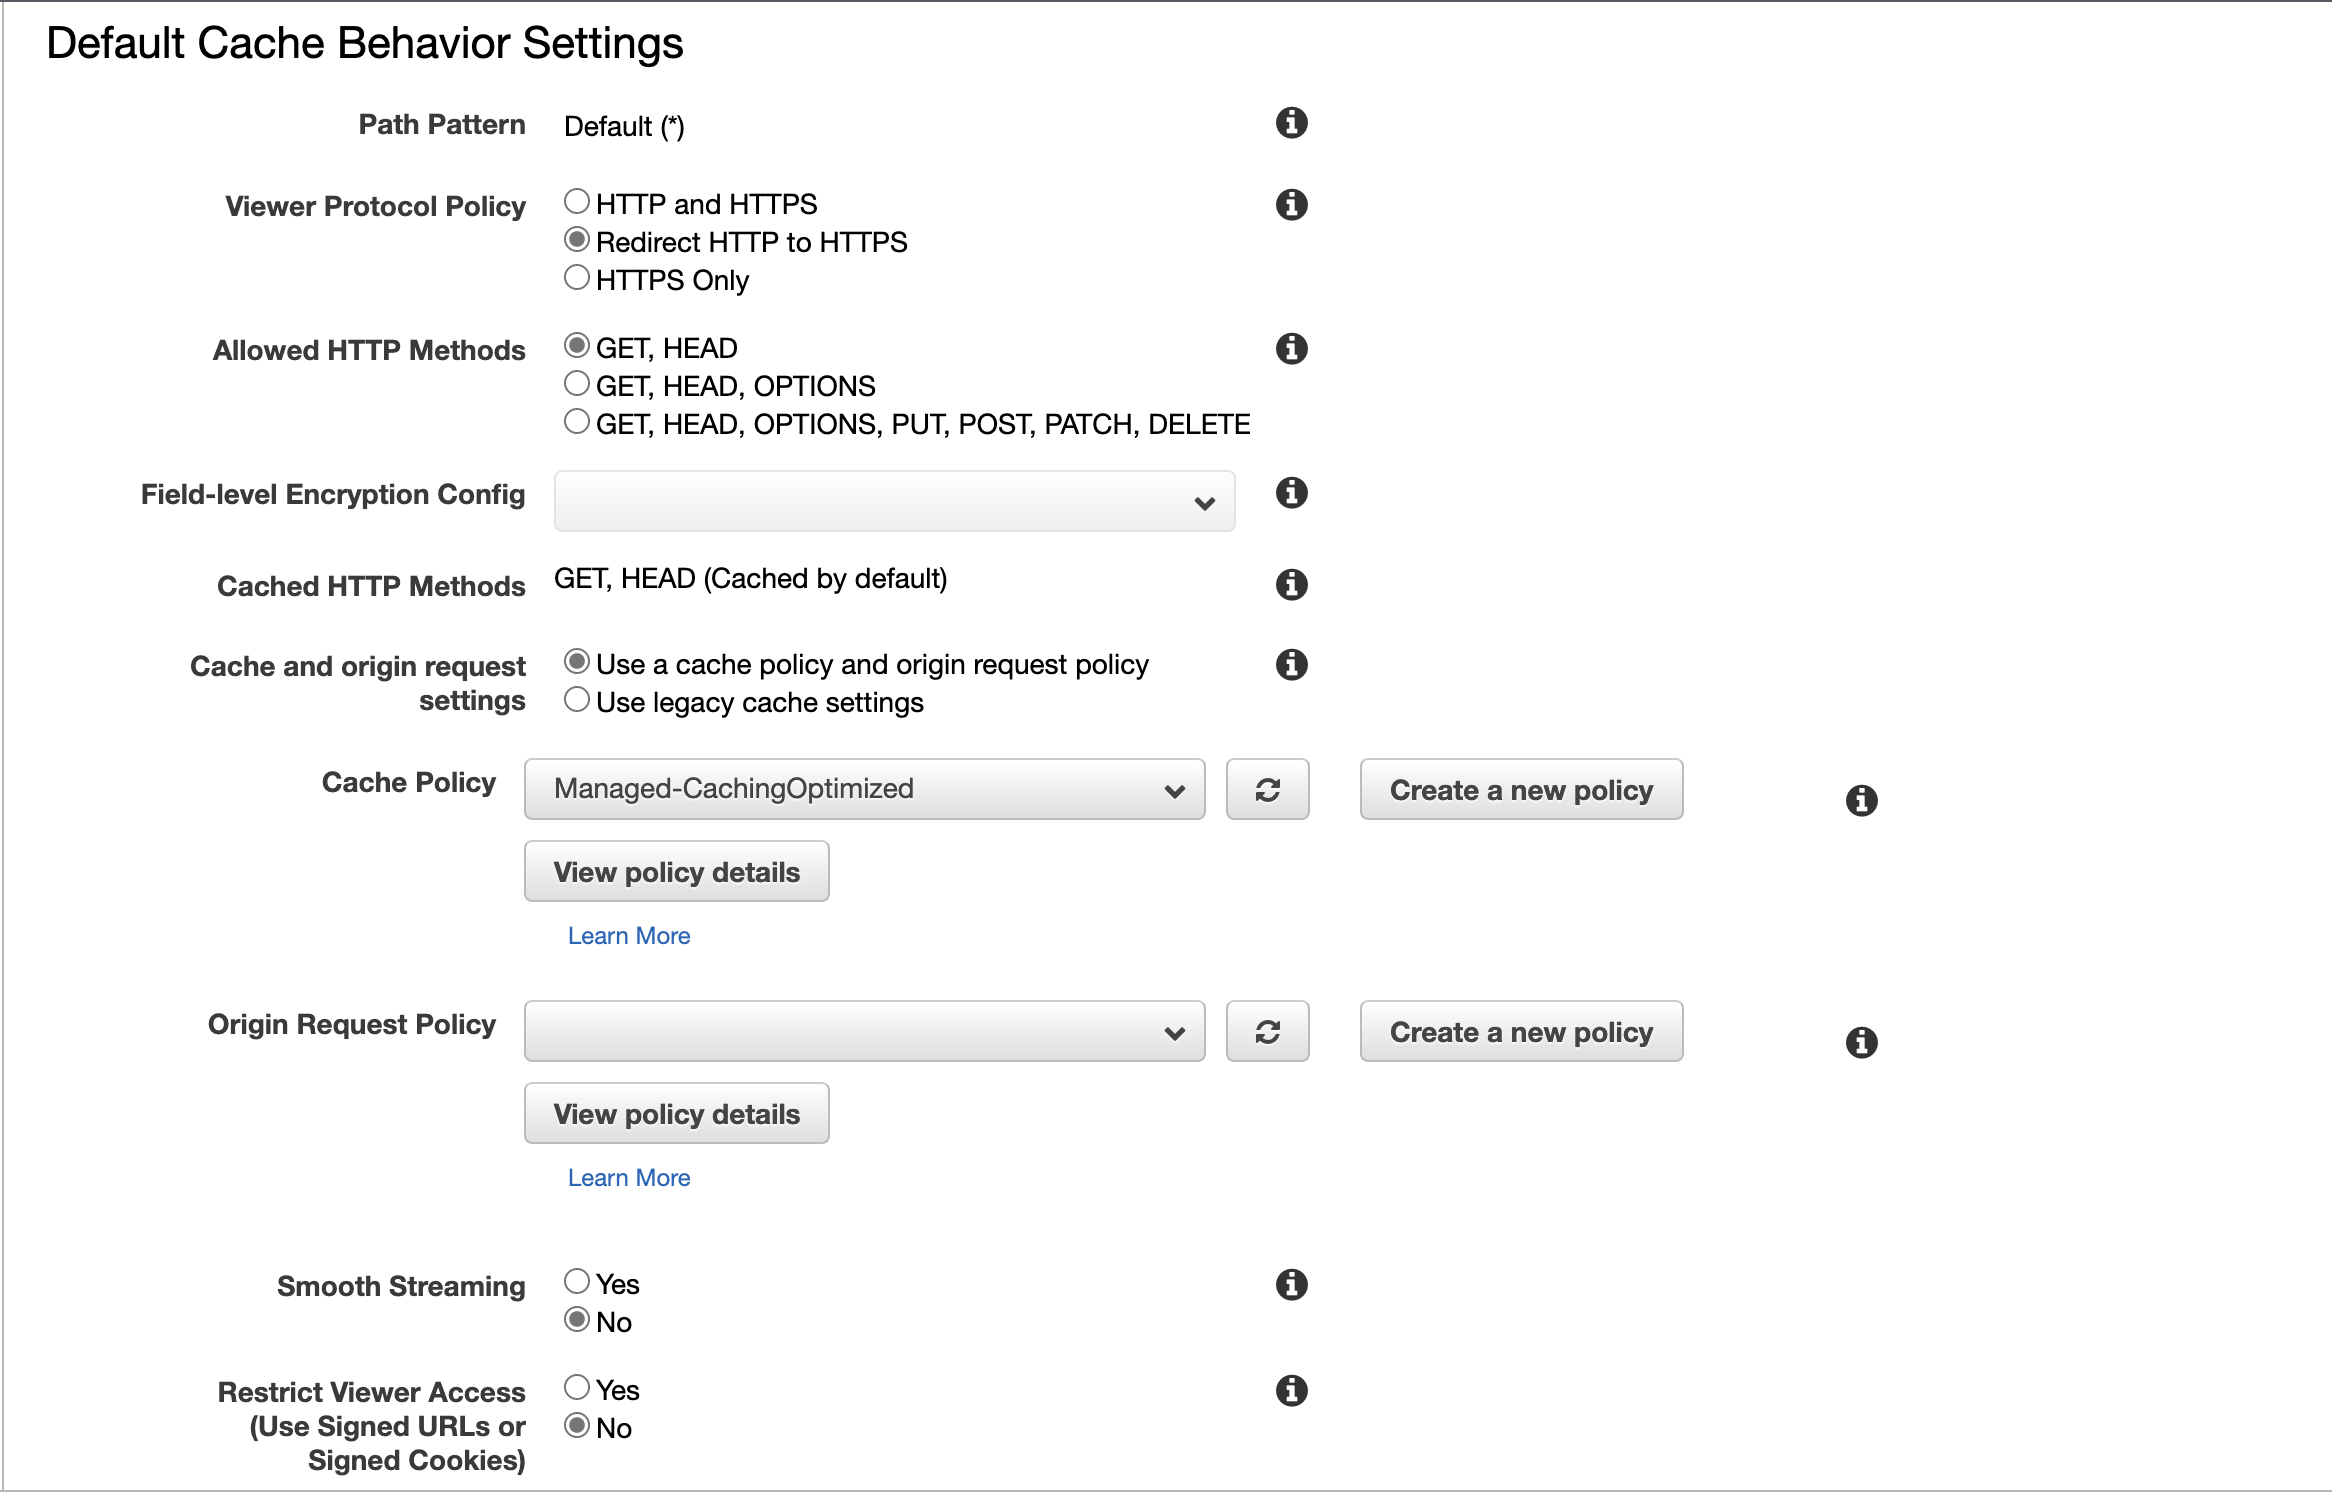
Under Default Cache Behavior Settings change the Viewer Protocol Policy to Redirect HTTP to HTTPS.
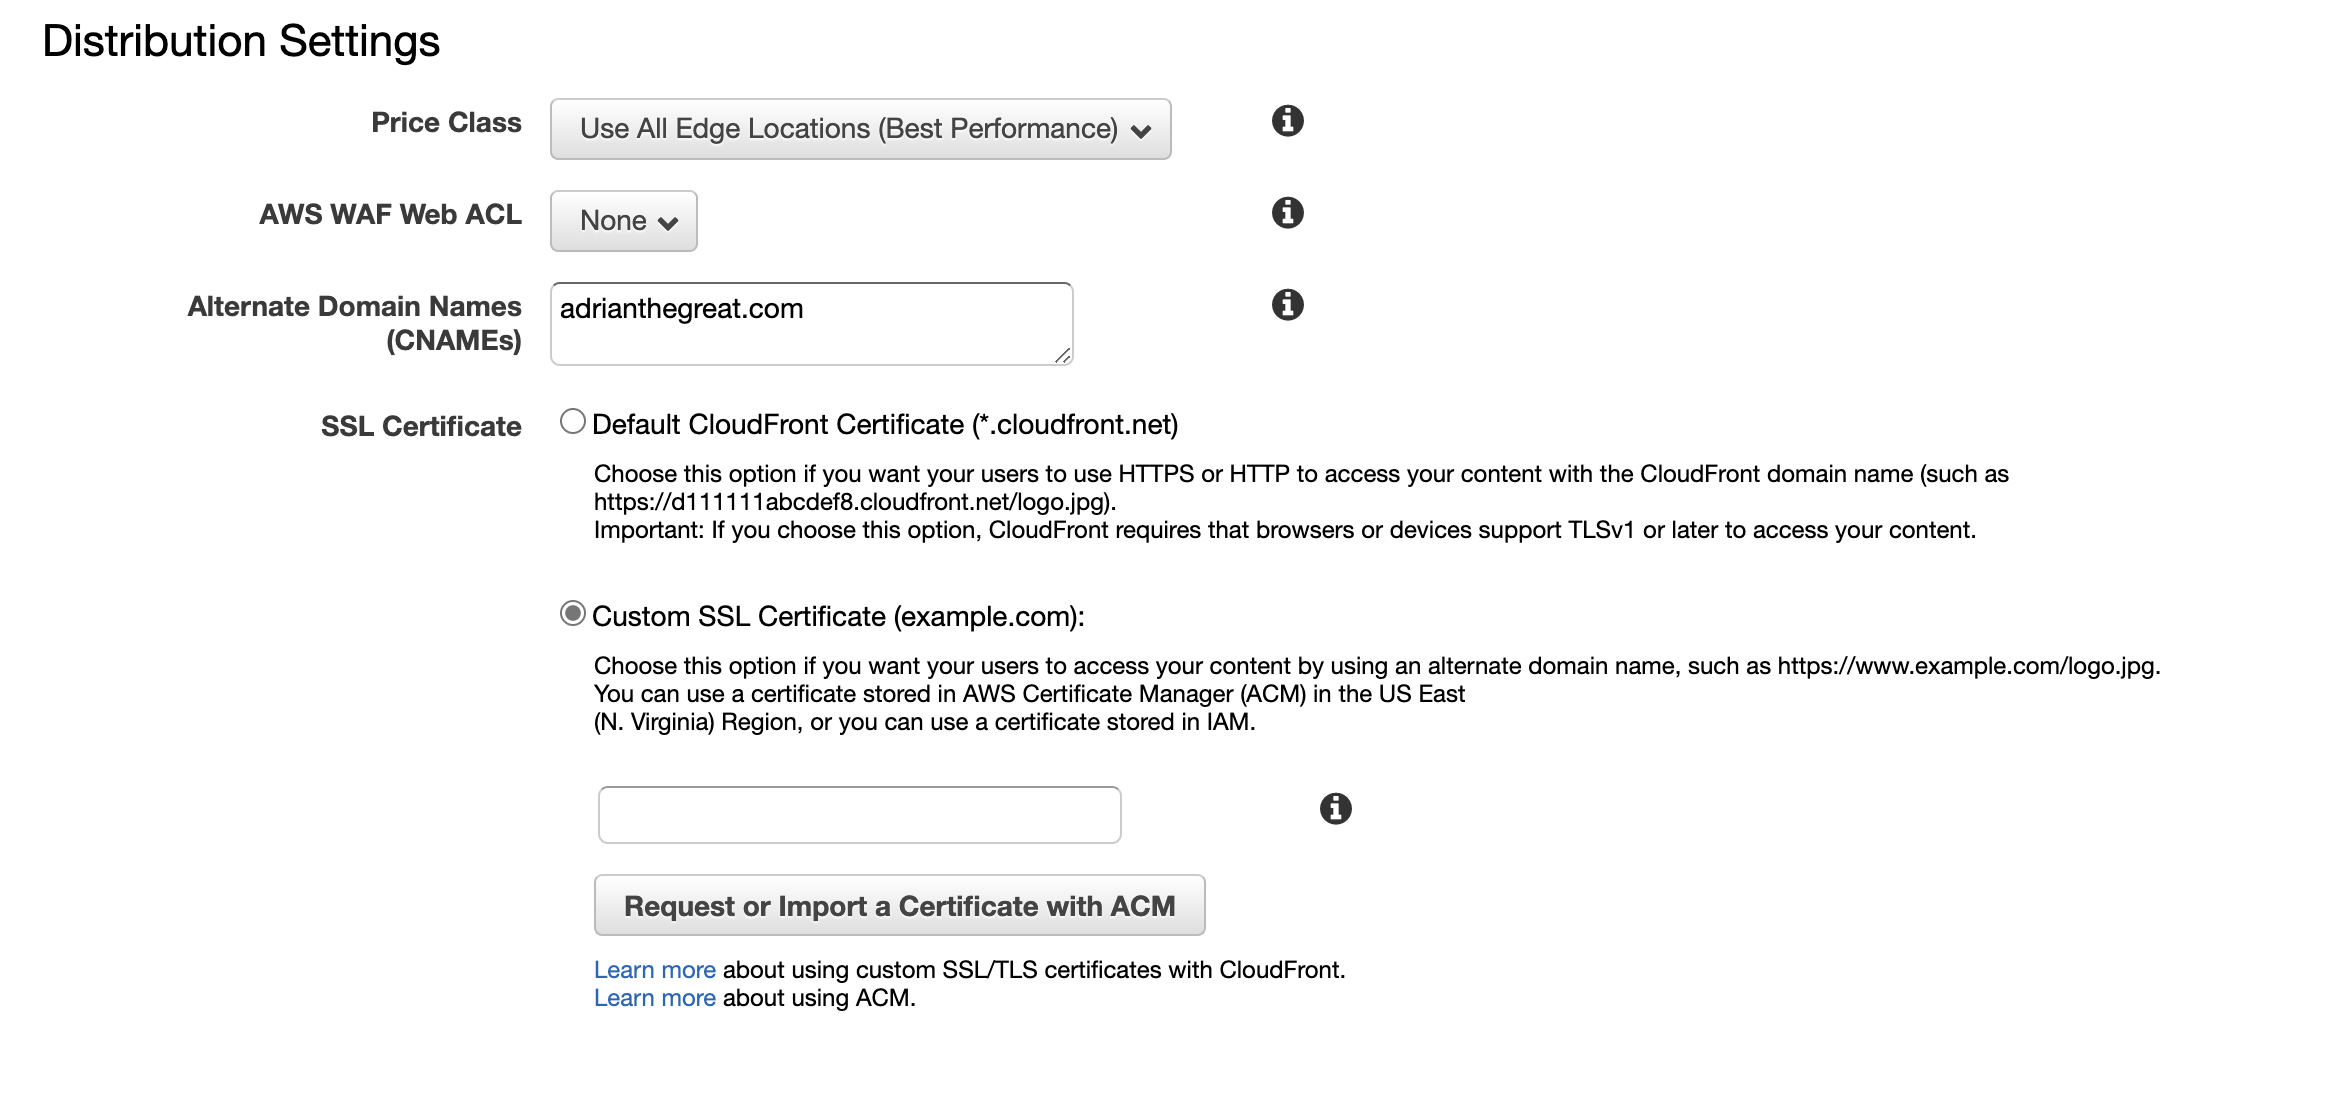
Under Distribution Settings, enter your custom domain name in the Alternate Domain Names field.
We’ll now configure our SSL certificate by selecting the Custom SSL Certificate radio button and then selecting Request or Import a Certificate with ACM.
Certificate Manager
Creating a certificate is rather easy, I have added the link for those unfamiliar with the process below:
https://docs.aws.amazon.com/acm/latest/userguide/gs-acm-request-public.html
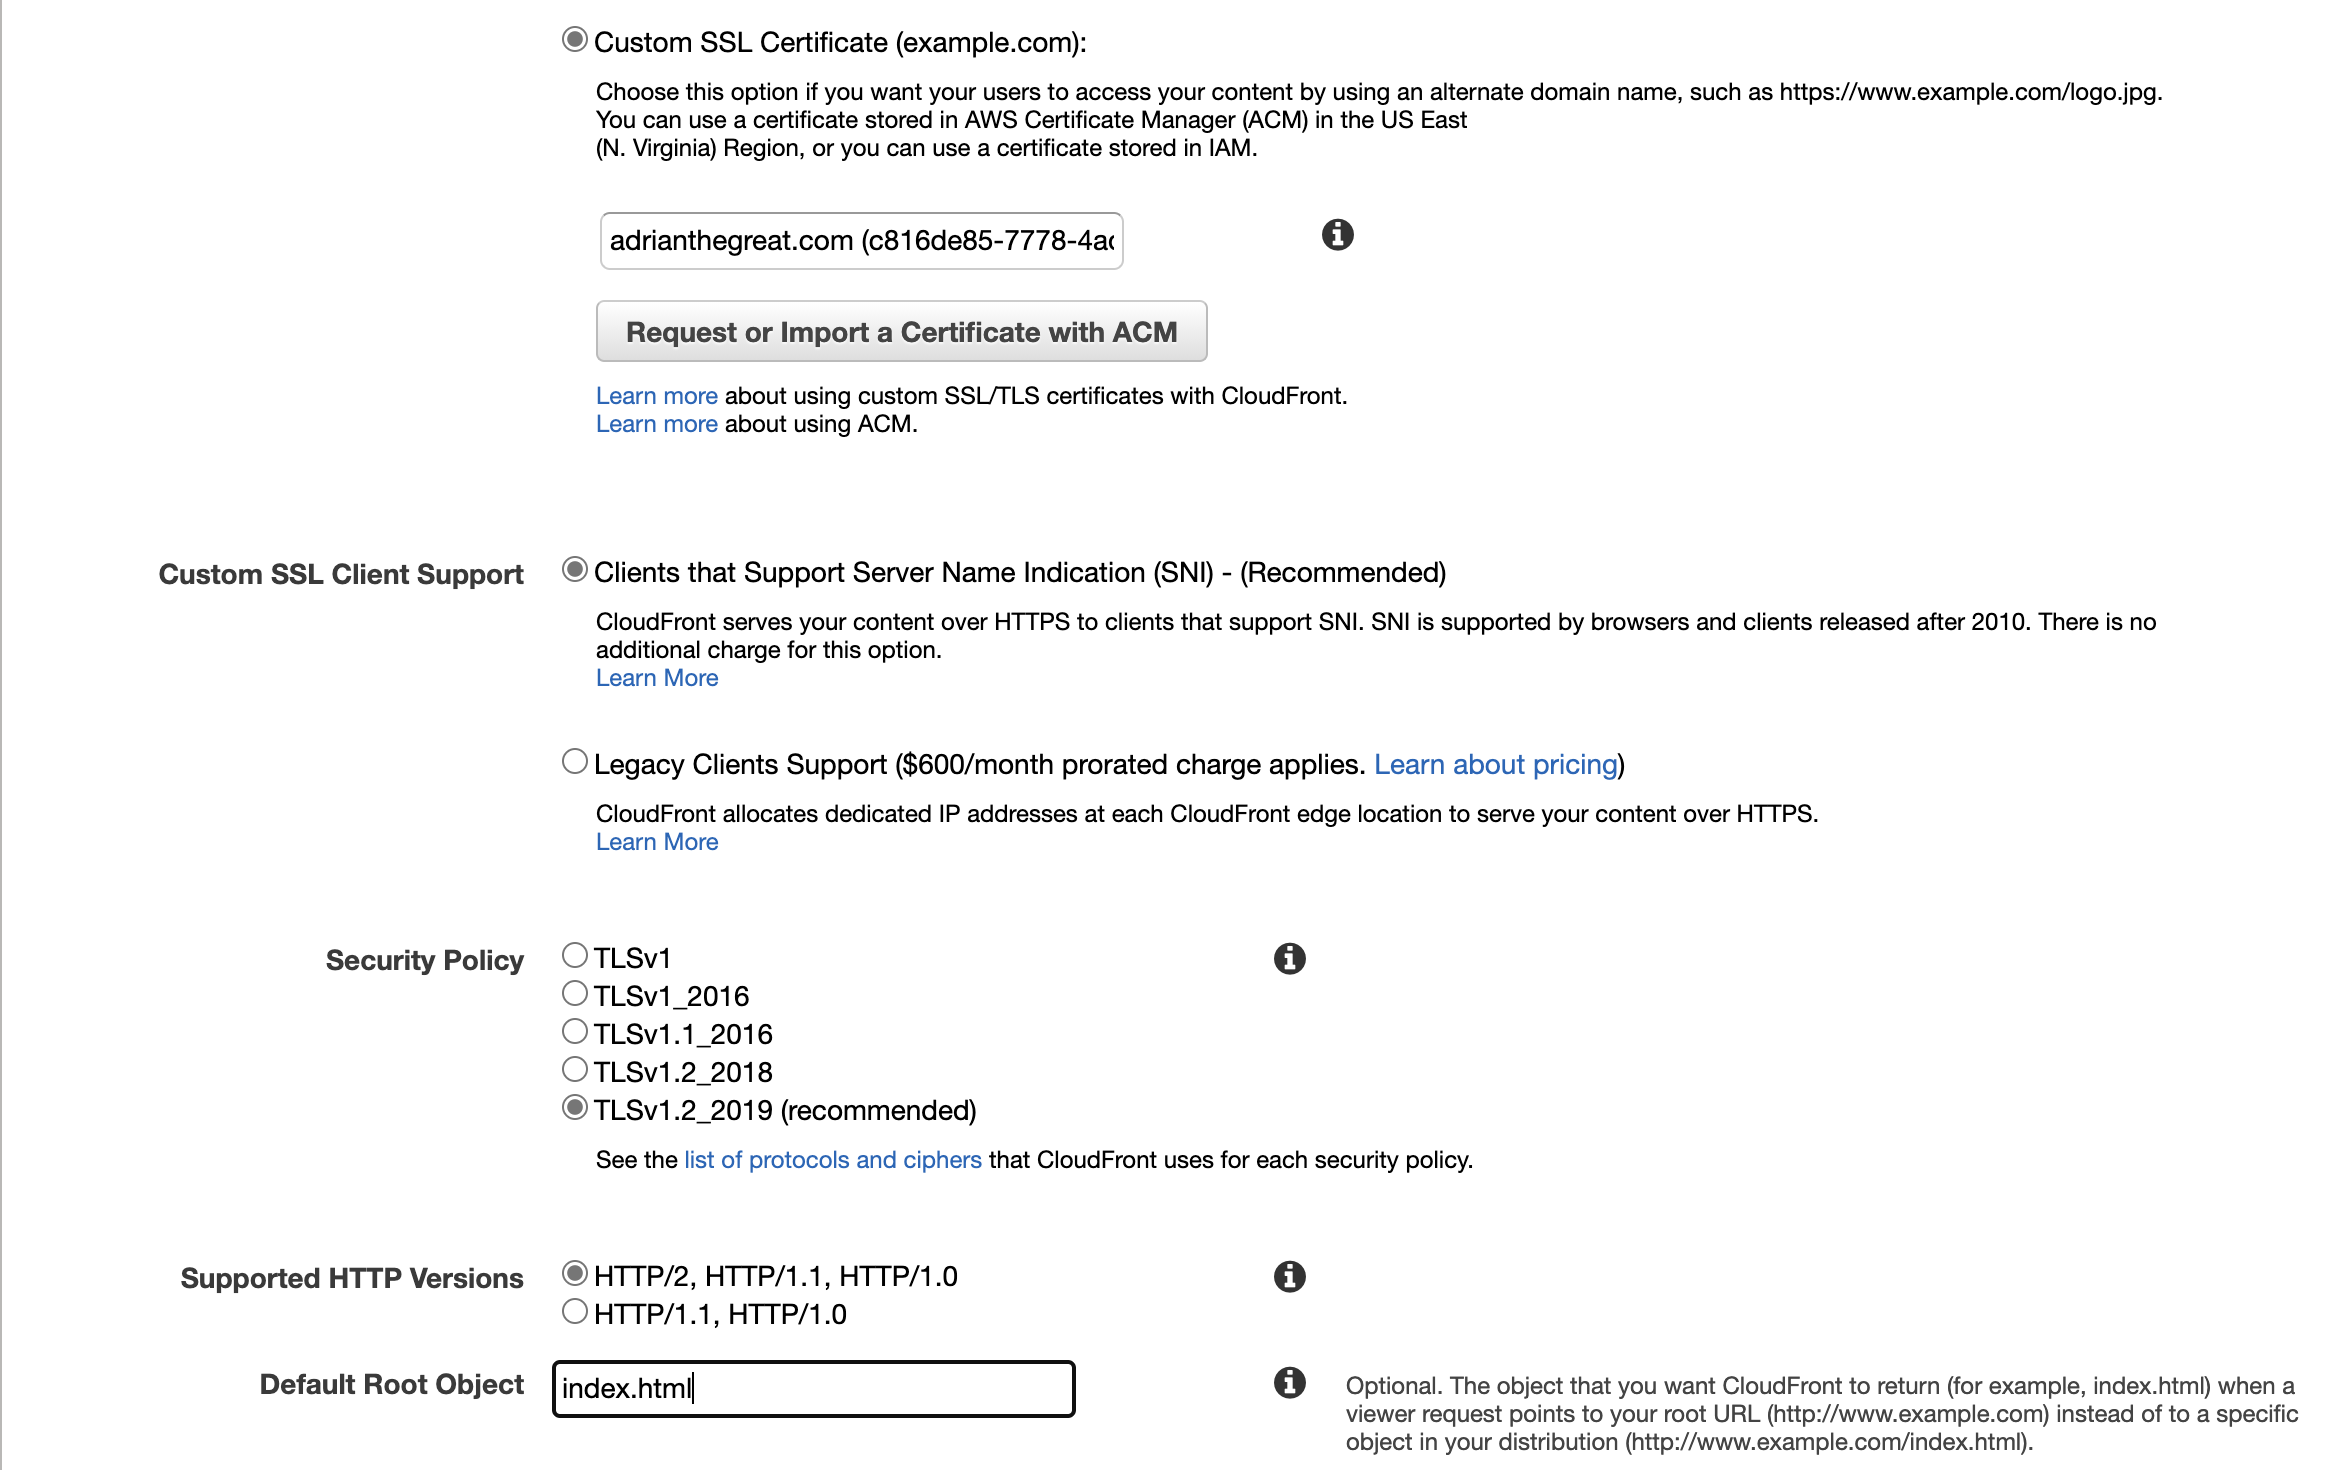
Once you’ve have requested the certificate you can return to the previous screen by selecting the CloudFront tab, select the newly created certificate. Last but not least change the Default Root Object to index.html and scroll to the bottom of the page and select Create Distribution. This process will take quite some time.
Route 53
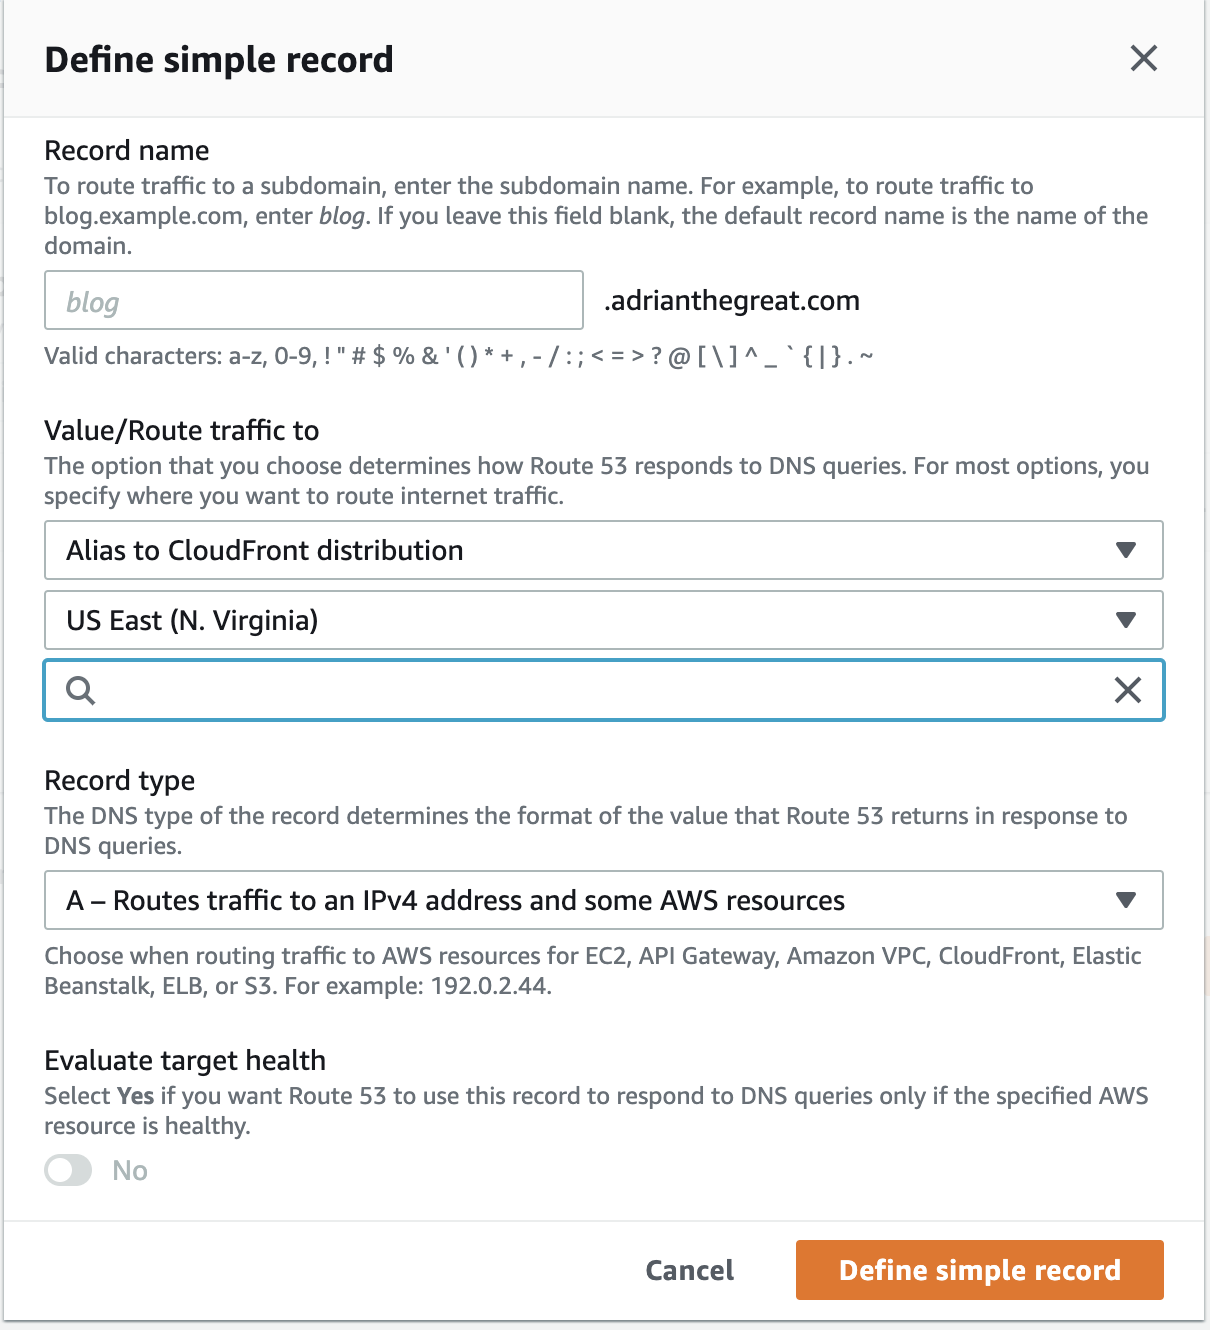
We’re back at Route 53, this time we will be creating a record set. Navigate towards Hosted zones, select your domain.
Select Create record, select Simple routing then select Define simple record. From the first drop-down search for Alias to Cloudfront Distribution, select your distribution and select Define simple record.
This concludes this post, in the last post I’ll show you how to setup serverless monitoring using Lambda, Cloudwatch and an SNS topic to receive a notification if our blog is unreachable.
Anatomy of A Serverless Blog - The Series, Episode 1
https://adrianthegreat.com/2020/12/06/Anatomy-of-A-Serverless-Blog-The-Series,-Episode-1/