AWS CodeCommit
CodeCommit is a managed source control service from AWS that hosts private Git repositories. The service allows you to store any type of file without a size limit.
Operating within the Free Tier limits has the below constraints:
• 1000 repositories per account
• 50 GB-month of storage
• 10 000 Git requests per month
This tutorial will show you how to create your first repository, creating an IAM user that will programmatically access the service as well as the ssh-keygen tool to create an authentication key pair.
Getting Started
We’ll begin by creating an IAM user. Once you have logged into the AWS management console, search for IAM in the main search bar and select the service from the list of services displayed.
Creating an IAM user
- Under users, select the Add users button, provide a User name e.g “Playground-Code-Commit” and only select Access Key - Programmatic access.
- Proceed to the next page to set permissions for the user, select the Attach existing policies directly tile, search for CodeCommit and select the AWSCodeCommitFullAccess policy.
- (Optional) On the Tags page, you can add metadata for the user.
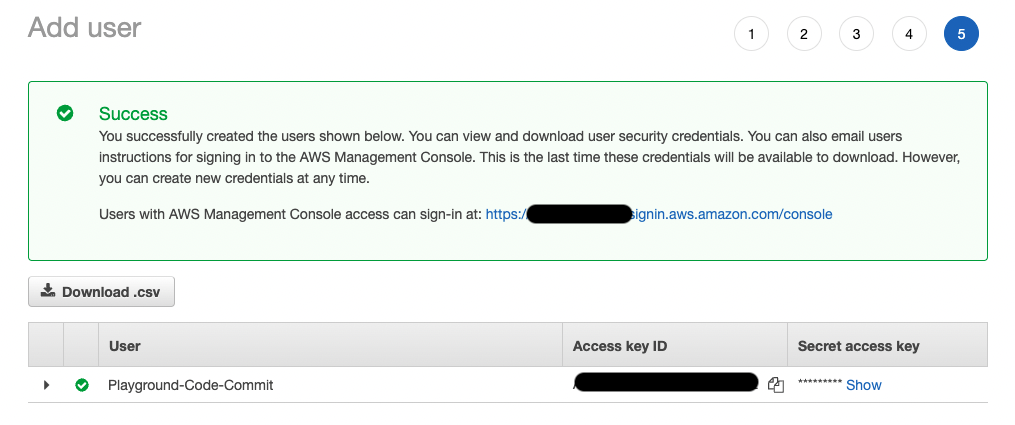
- On the Review page, proceed by selecting Create user.
- Download the credentials by selecting the Download .csv file, alternatively copy the credentials shown on the screen and save them in a Password Manager.
CodeCommit
- Search for CodeCommit in the main search bar and select the service from the list of services displayed.
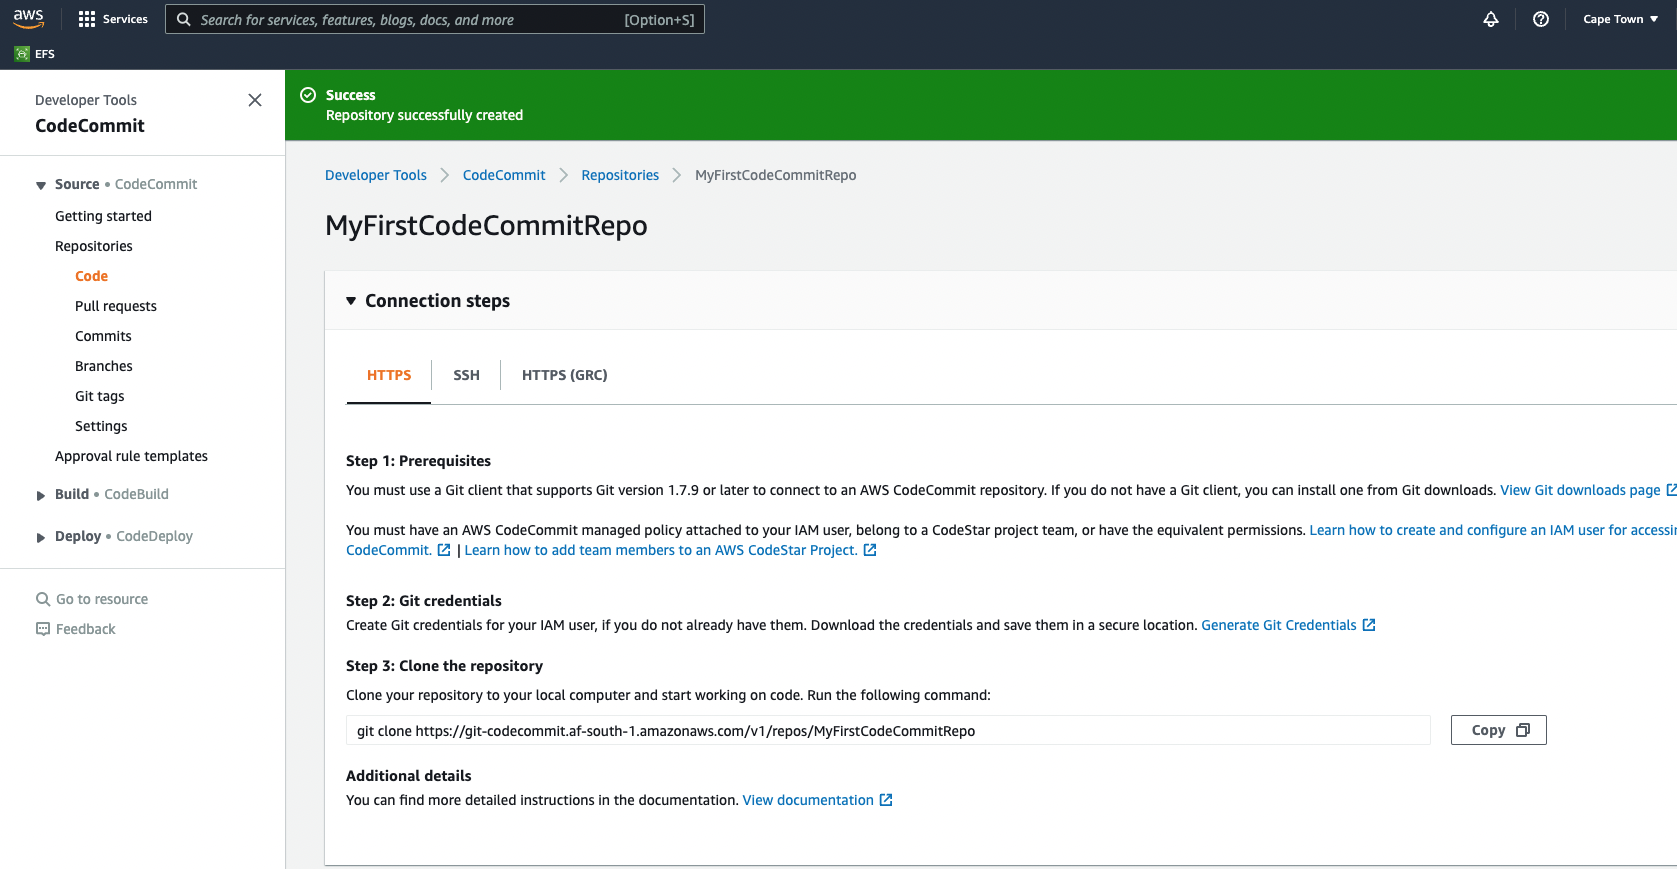
- Select the Create repository button, under Repository settings provide a name and description, select the Create button to create the repository.
- Upon successful creation a green banner will be shown indicating that the repository has been created.
SSH Connection steps
We will now configure access to our repository using SSH, on the SSH tab AWS has provided clearly defined steps for macOS, Windows & Linux.
I use macOS and the below should be similar for the other Operating Systems.
- Open Terminal, navigate towards the .ssh directory in your home folder and enter the below command:
ssh-keygen
If this is your first time generating public and private keys on your Mac the ssh-keygen will prompt you to choose a location for storing the keys.
- Provide a name e.g “PlaygroundCodeCommit”.
- Press the return key twice to continue without providing a passphrase.
- To print the contents of the public key you generated enter the below command.
cat PlaygroundCodeCommit.pub
- Copy the output shown in the terminal window.

- Navigate back to the IAM page in your browser and select the IAM user created earlier.
- Under the Summary page, select the Security credentials tab, scroll down until you see the SSH keys for AWS CodeCommit section.
- Select the Upload SSH public key button and paste the content of the SSH public key you copied at step 5 and select Upload SSH public Key.
- Copy the SSH key ID, navigate back to the terminal window.
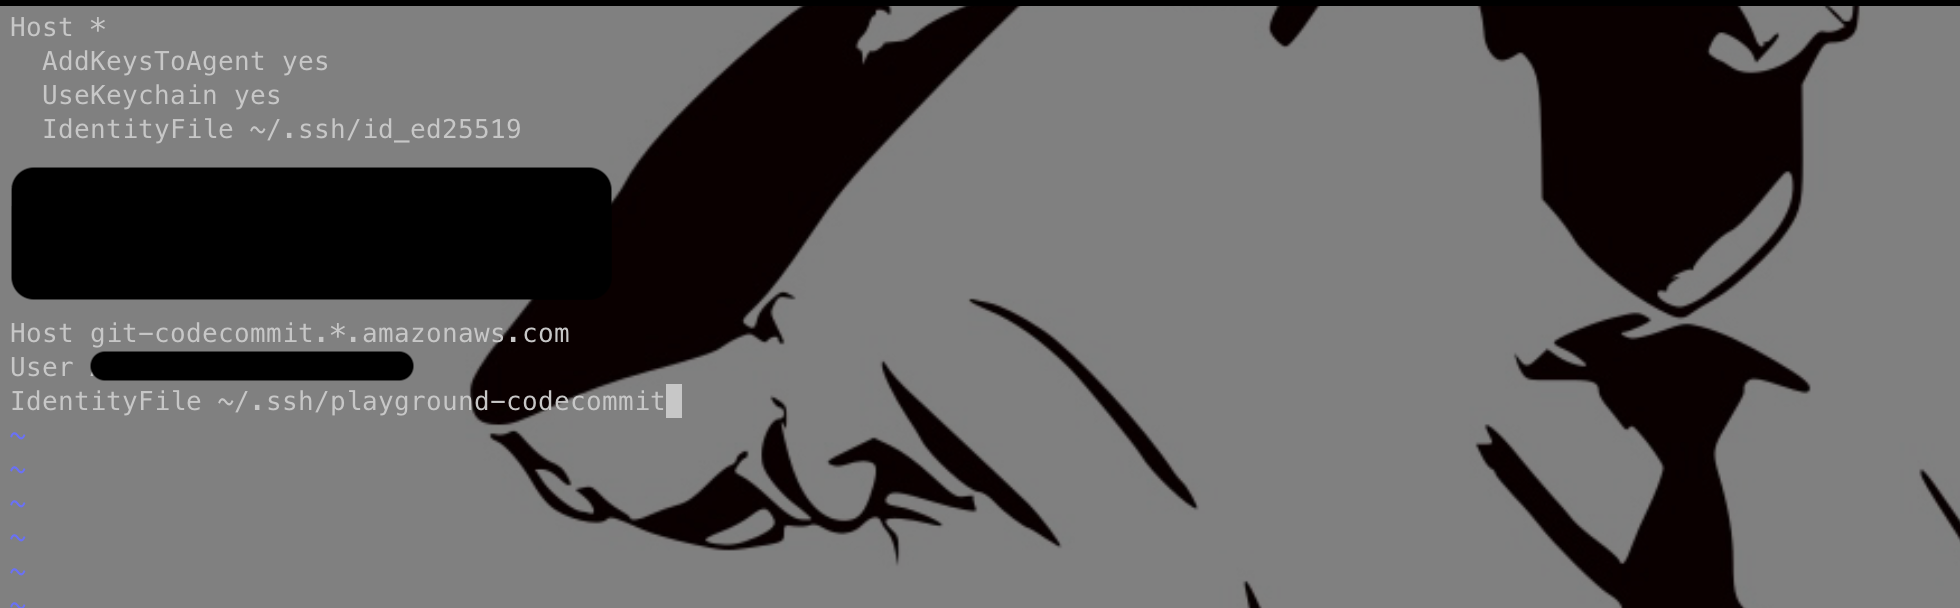
- At this step you’ll need to edit the local SSH configuration file using vim, type the below command.
vim config
- Add the following lines and replace the placeholder values with the SSH key ID from step 9 and private key file name.
Host git-codecommit.*.amazonaws.com
User Your-IAM-SSH-Key-ID-Here
IdentityFile ~/.ssh/Your-Private-Key-File-Name-Here
- Type the below command to ensure the config file has the correct permissions.
chmod 600 config
Cloning your repository
You are now ready to clone the repository you created from CodeCommit to your local computer.
- Navigate towards CodeCommit in your browser and select the repository you created.
- On the top right corner of the page, select Clone URL and from the drop-down select Clone SSH.
- In the terminal window, change the current working directory to the location you where you want the cloned directory.
- Type git clone, and then paste the URL you copied earlier.
git clone ssh://git-codecommit.af-south-1.amazonaws.com/v1/repos/MyFirstCodeCommitRepo
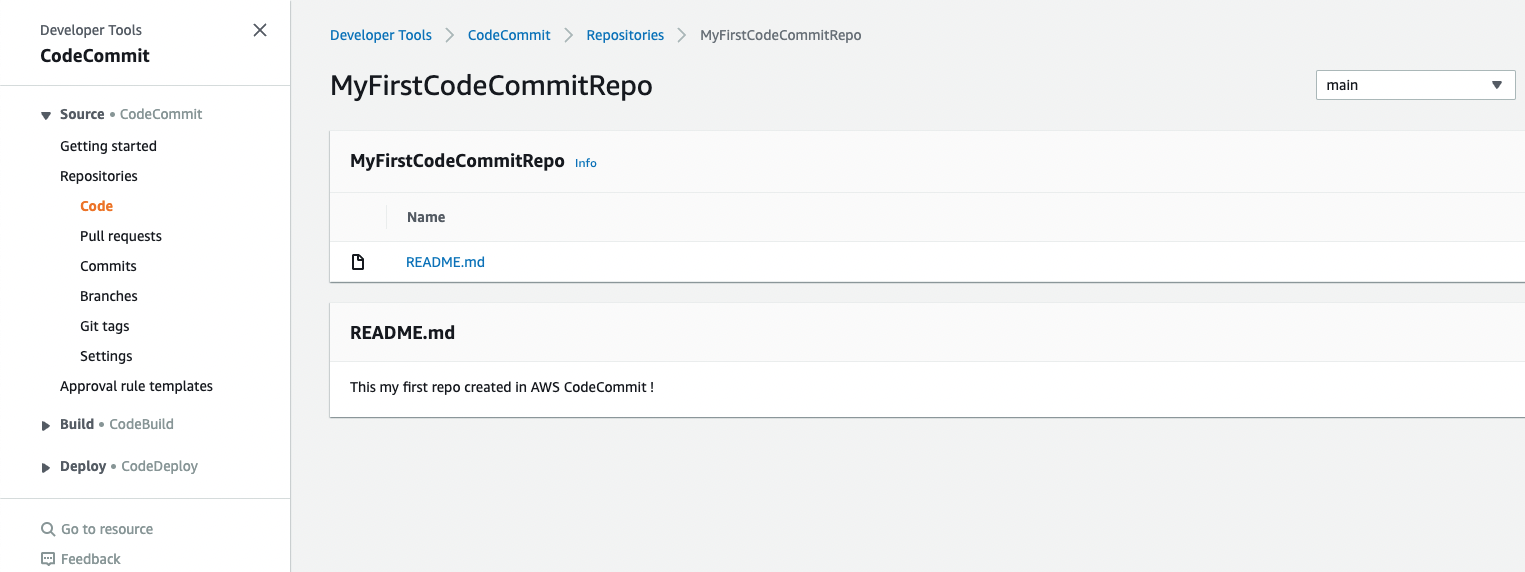
As is customary with most repositories you’ll initialize the repository with a README file. We’ll use vim again to create the README.md file.
vim README.md
Input a description and save the file e.g “This my first repo created in AWS CodeCommit !”
- Add and commit the changes with the below commands.
git add .
git commit -m “This is my first commit to AWS CodeCommit”
git push
A new branch will be created and the README file will be uploaded to the repository.
AWS CodeCommit